By Patricia Belyea
SEATTLE WA It’s not easy to experience magic these days. Yet last weekend, my twin sister Pamela created a community event that put a feel-good spell on hundreds of people for a few hours.
It was May 1, the birth date of Pam’s lost son Ben. He would have been 26 on Sunday but Ben left this life when he was 23.
Playing the cello and making music was an important part of Ben’s short life. So after Ben died, Pam and Gary set up the Ben Faigin Music Opportunity Fund to create scholarships for young classical musicians.
 Ben Music Fest, a three-hour event, included closing the street in front of Pam’s house, a Mexican food truck, free birthday cake, free non-alcoholic beverages, and a stage with a revolving line-up of musical acts.
A big feature was a restored vintage motorcycle that Ben had left behind as a full set of parts, organized in boxes.
I headed to Seattle for a long weekend to help out. In reviewing all the event details with Pam, I offered to make two banners that matched the Fest logo.
HOW TO MAKE A FEST BANNER
In case you ever need to make a banner for an event, here are my crafty process steps:
Being in the city meant that Joann Fabrics was only a mile away! I bought $6.99/yard solid-colored cottons, WonderUnder double-sided interfacing, a 10-pack of iron-on fabric label sheets, and yardage of bright-colored woven tape.
Of course, I looked up all the Joann coupons I could on my smartphone!

My graphic designer sister Jennifer, who designed the Fest logo, sent me a PDF of the Fest letters as big outlines. I printed the PDF pages on the iron-on label stock using Pam’s ink-jet printer. Then I cut the 24 letters out with an X-acto knife and small scissors.

I pressed the double-sided interfacing to big pieces of the solid-colored fabrics so the interfacing was sandwiched in the middle. This added a little bulk to the fabrics as well as ensured that the edges did not fray.

I made a paper pattern for the colorful flags and cut them out of the interfaced solids with a gridded ruler and rotary cutter. It was great that Pam had our mom’s quilting tools!

Using a spacing template made out of a piece of scrap paper, I positioned the letters onto the flags and ironed them down.

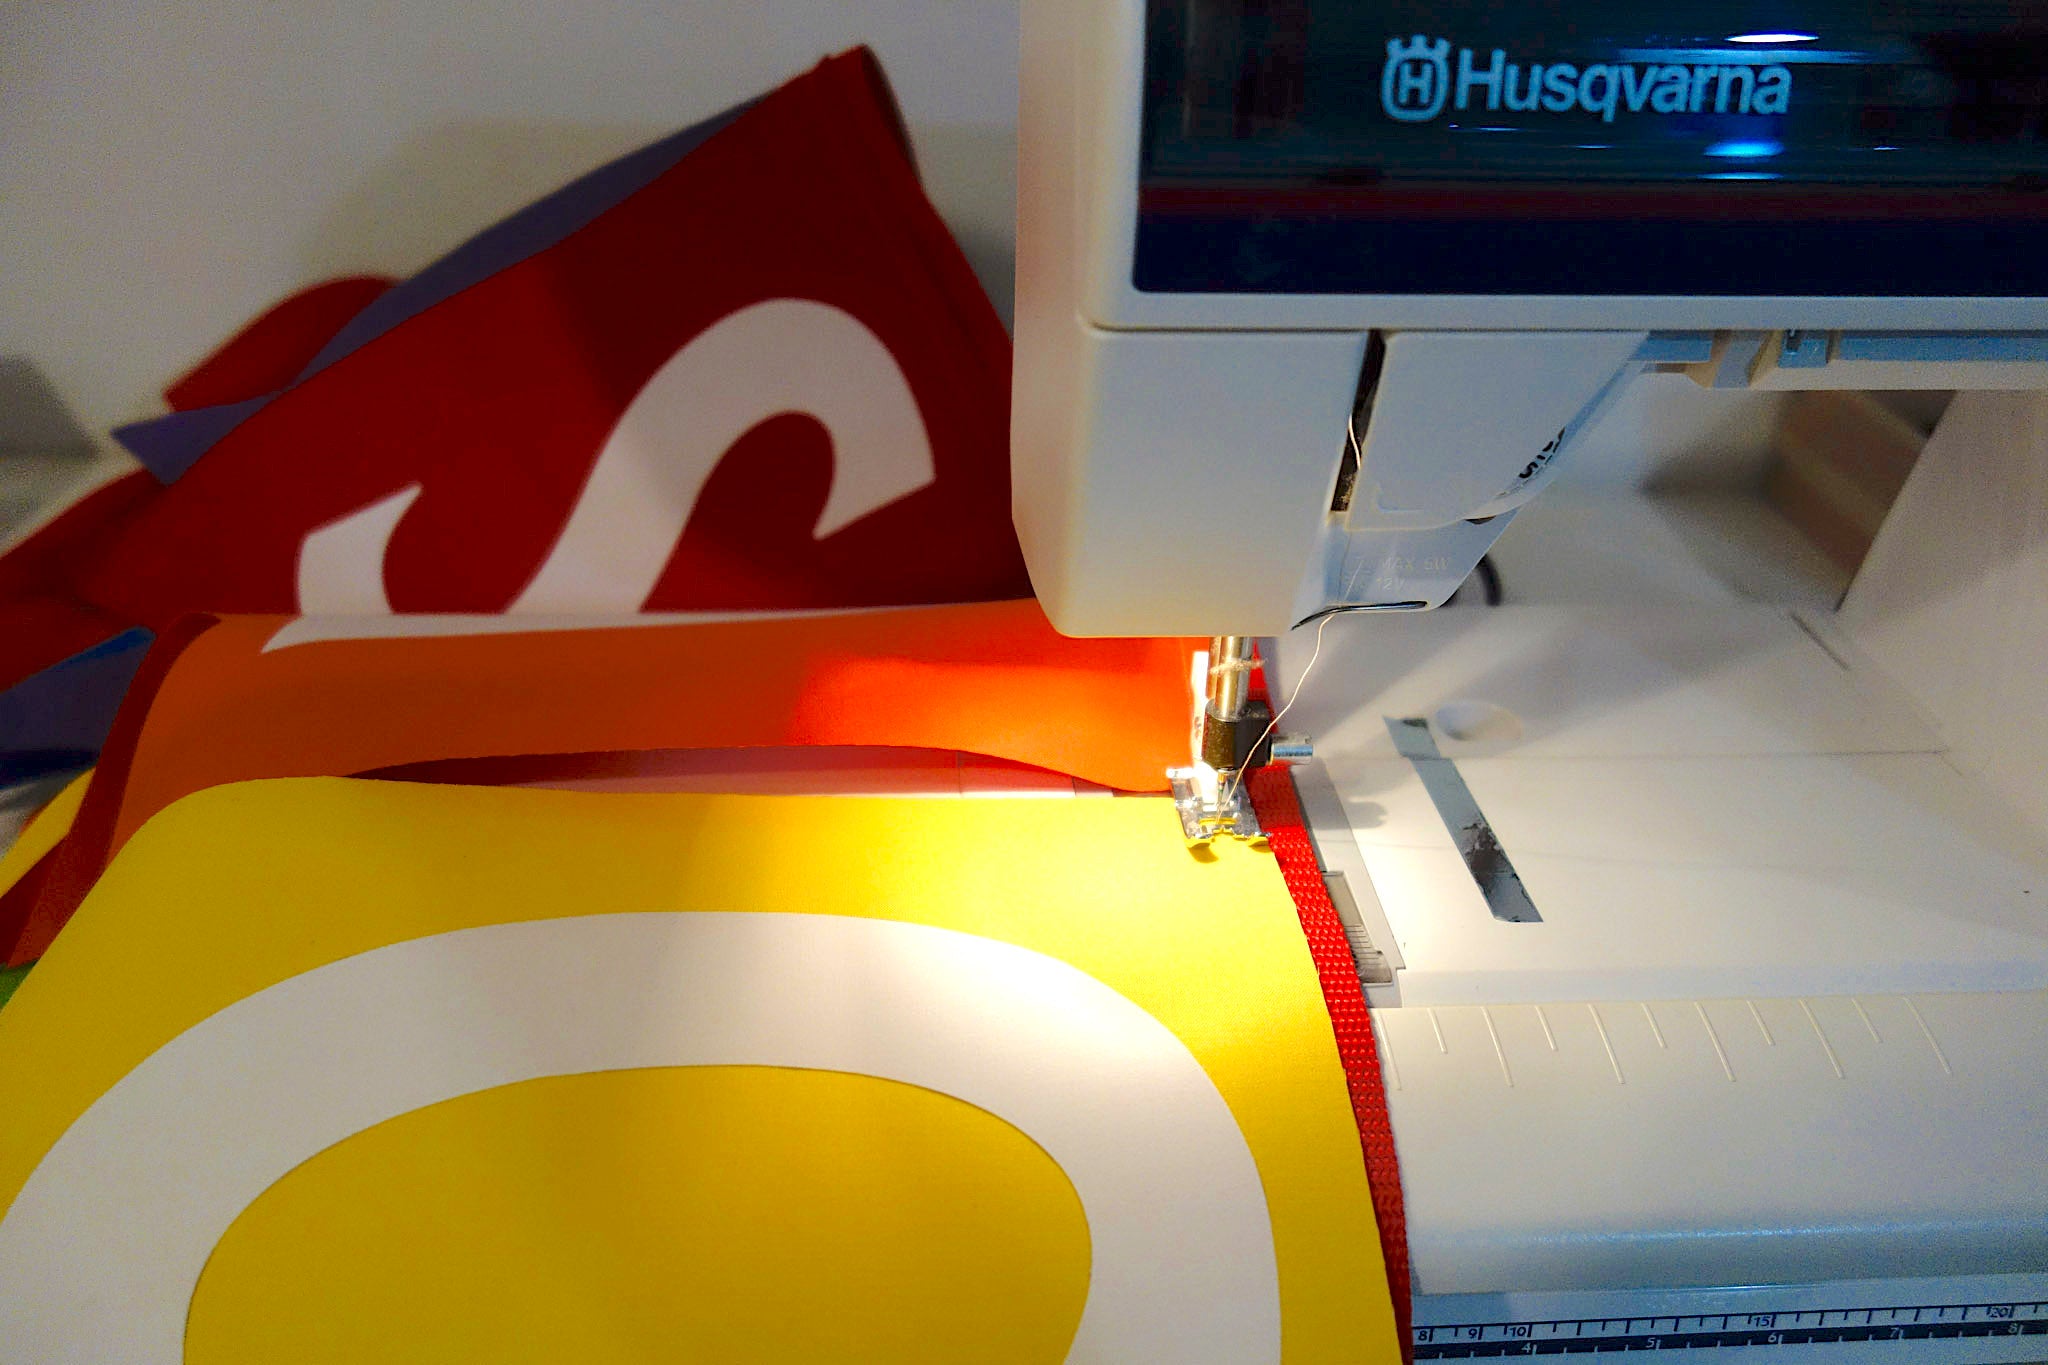
Thank heavens Pam’s Husqvarna was threaded as I had no idea how to set up her sewing machine! I stitched the tops of the flags to 5 yards of heavy woven tape with a quarter inch between each flag, and one-yard tails on each side for securing the banners.
 The final step was hanging the banners on a blustery afternoon. Five-gallon buckets had been filled with Quikrete and a piece of short pipe. Ten-foot lengths of smaller pipe were fitted into the bases, with the banners tied at the top.

BEN MUSIC FEST
The event was a huge success with lots of music, delicious homemade birthday cakes, and non-stop laughter. Remarkably the Ben Music Fest event, its GoFundMe page, and $10,000 in matching funds raised $24,000 to provide scholarships for young classical musicians.
It really was magic!
Pamela with the restored 1975 Yamaha motorcycle: The daylight begins to wane and the music is about to begin:
 Sing-along favorites ETHAN & OLIVER:
 Clubhouse Band rocks the Fest with its big dance music:


