
Before you get started, here are some comments from readers:
Thanks so much for the PERFECT instructions on binding a quilt. Maryanne A, Bethlehem PA
I don't want you to get too proud of yourself, but your explanation of mitered binding is the BEST I have ever used. I have struggled for years with getting my mitered bindings consistent and this method has finally!!!! worked well for me.... Cheryl S, Sister Bay WI
By Patricia Belyea
The double-fold bias binding reigns as the classic finish for quilts. Desirable as the double thickness provides extra protection for quilt edges, the binding process can also be daunting.
There are four tricky bits:
1. Making a binding that’s the same width on both sides of the quilt.
2. Making long strips with mitered seams.
3. Turning the corners for perfect miters.
4. Attaching the two tails with a final mitered seam.
Once you master these four details, you will have show-quality bindings on your quilts.
Why Bias Strips?
The expert’s choice for the double-fold binding is strips cut on the bias (a 45˚ angle). Bias strips stretch around corners and are stronger for the quilt. Cons? This choice wastes a little fabric and takes longer.
If you can’t cut bias strips, the second choice is to cut strips on the long grain. The last choice is to cut strips on the cross grain.
Why Mitered Seams?
Mitered seams in the binding are much flatter than 90˚ seams that create bulk or small bumps.
Best Choice for Binding Fabrics
The best fabric for bindings is crisp and fine cotton — not coarse, bulky, or open weave. All the same, don’t use sheeting which has too tight of a weave.
Getting Started
Trim the edges of your quilt sandwich. Pin and staystitch or zig-zag stitch 1/8" from all the edges.

Strip Width
A rule-of-thumb for cutting widths of binding strips is 6X the final binding width. This is not completely accurate due to the loft of the batting and the thickness of the fabrics.
Binding Width Test
Always make a small sample to determine the exact width needed for the binding strips of your project.
Make your mini-test sandwich using the same top fabric, backing fabric, and batting as your quilt. Staystich or zig-zag stitch along one edge.
Cut a bias strip of binding fabric and test the width of seam allowance (which will be the final width of the binding) until you get the exact amount of binding showing on both sides.
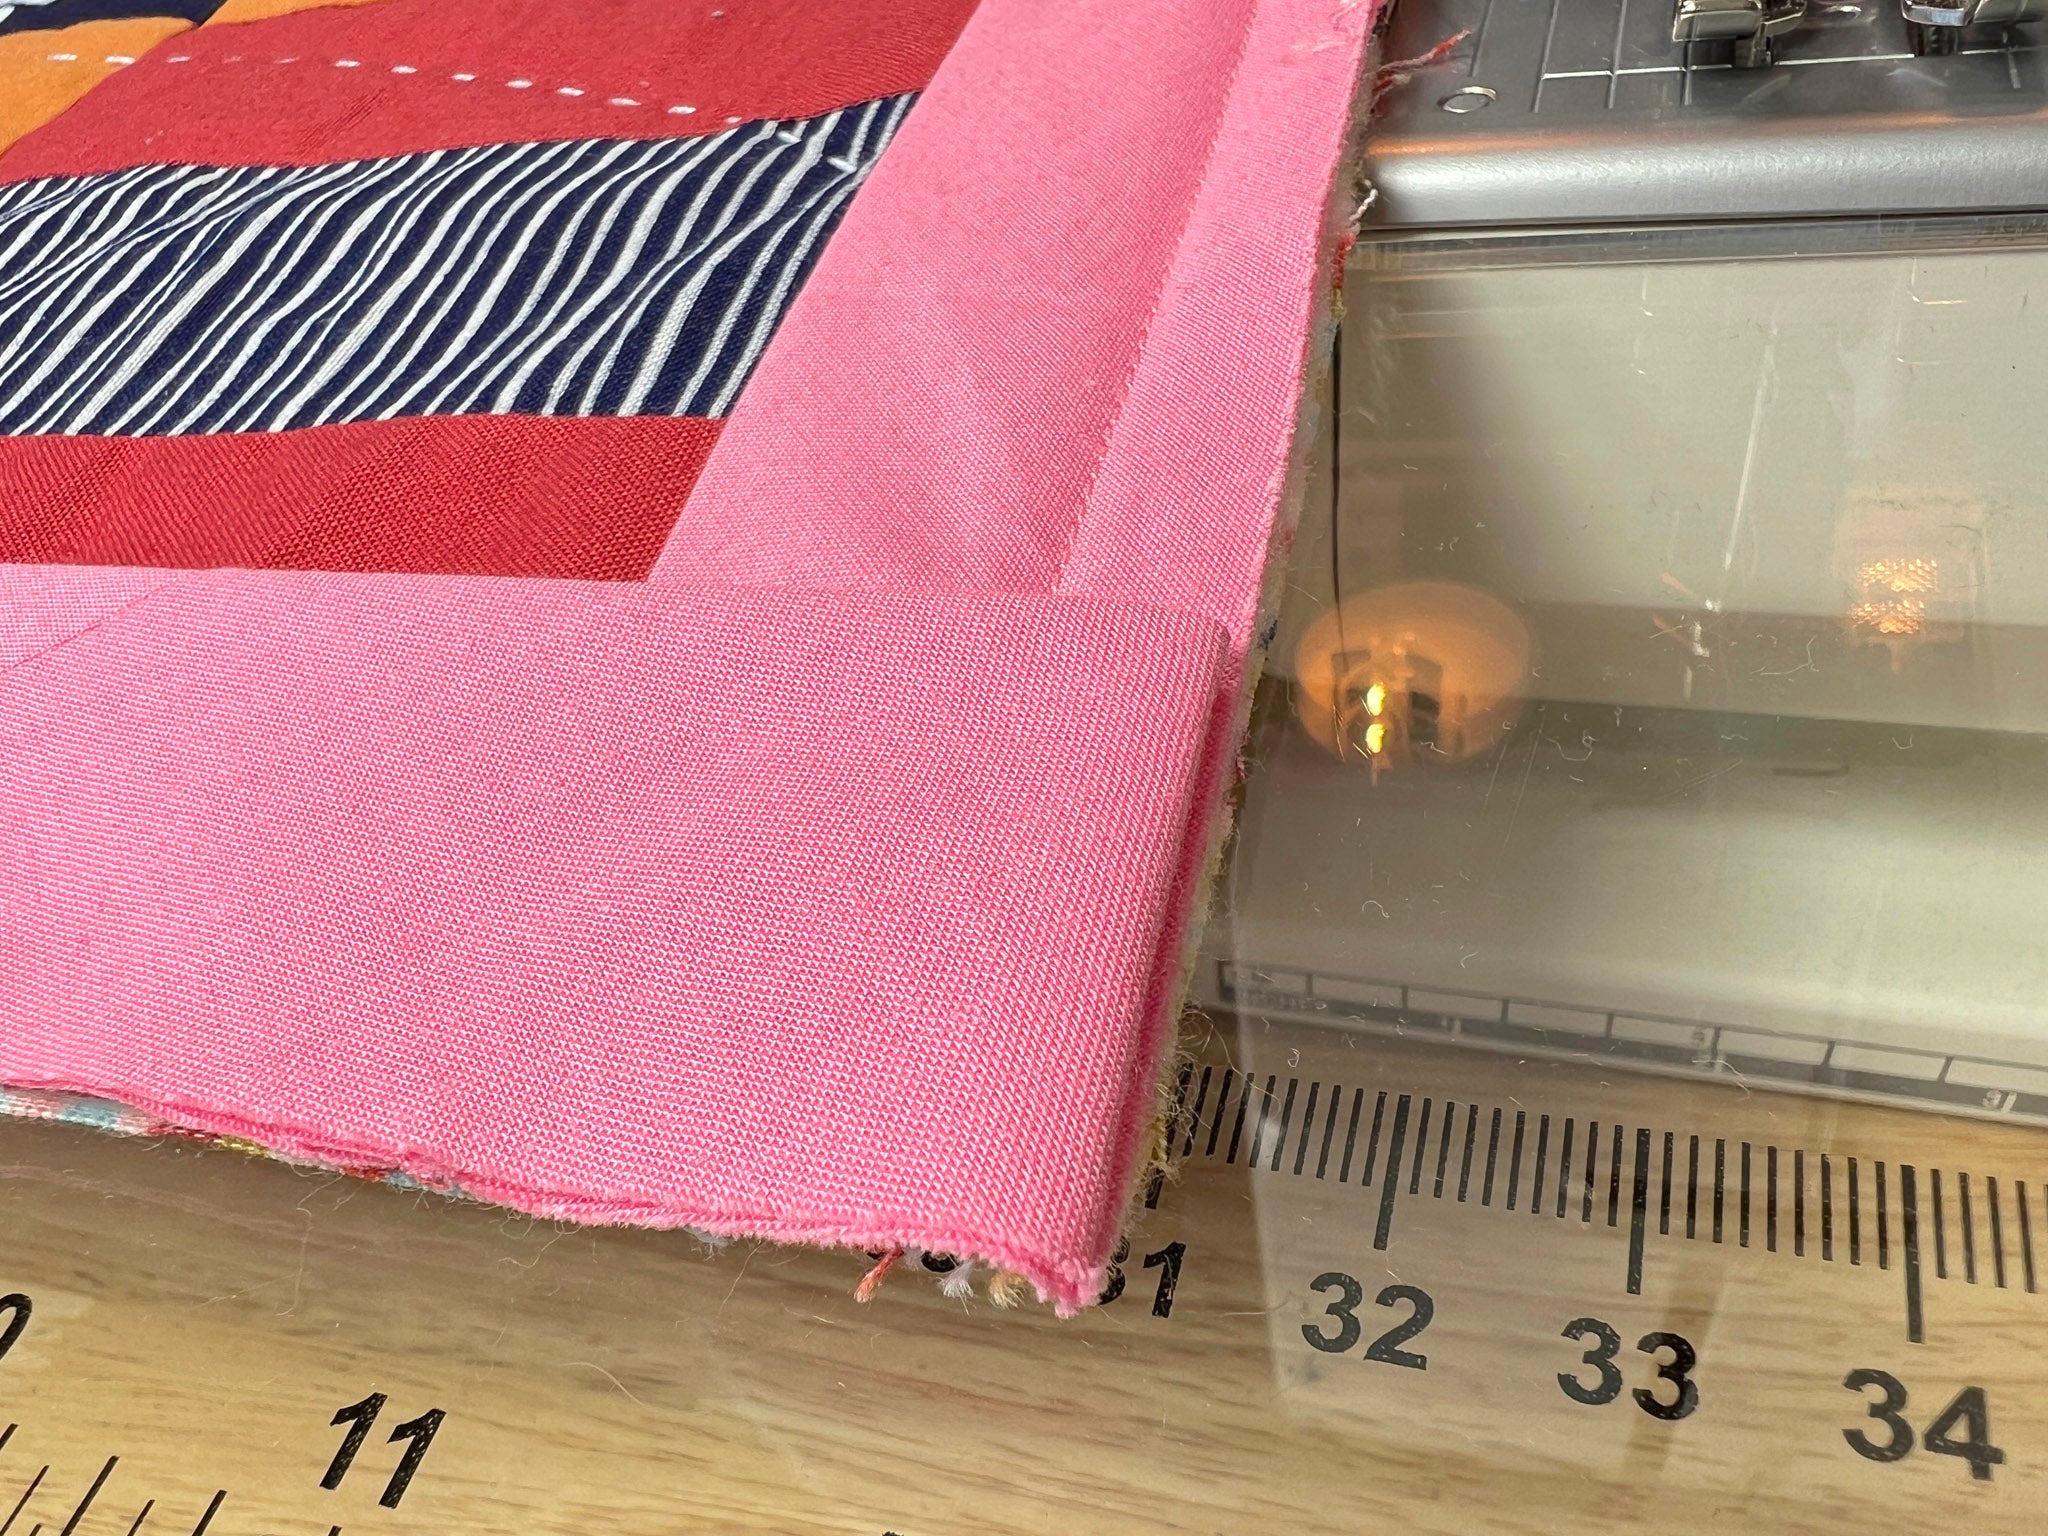
My Test
I wanted ½" binding on both sides so I made a test sample with a 3" strip of binding fabric and ½" seam allowance. It was perfect so I was confident to continue.


Making Long Binding Strips With Mitered Seams
Cut strips of your binding fabric on the bias. To do this, align the 45˚ marking on your gridded ruler along the selvedge of your fabric to create the correct angle.
My strips are 3" wide.


On the back of every strip, on the right end, mark a 45˚ line with a pencil. (Do not use a pen or magic marker.)

Position the right side of one strip going in the 12 o’clock \ 6 o’clock direction. Place the wrong side of a second strip on top, in the 9 o’clock / 3 o’clock direction, with the angled line going from side to side on the perpendicular strip.

Pin and sew on the pencil line. Trim the seam to ¼".

Heat set the seam flat with the iron, then press the seam open from the back, and finish with a final press on the front side.

Press the wrong sides of the long strip together carefully so that the open edges truly line up. Trim off the cat ears.


Make the length of the joined strips equal to the perimeter of the quilt plus 20" - 24".
Adding The Binding Strips To The Quilt
Position the cut-edge of the strip with the outside edge of the quilt. Leaving a tail of 10 to 12", start stitching in the middle of one side of the quilt, using the seam allowance that you determined in your mini-test.
No need to pin. Just keep aligning the long binding strip to the edge of the quilt.

Mitered Corners
When your stitching gets close to a corner, fold the strip up at a 45˚ angle so the far side lines up with the quilt edge and heat crease with your finger. It’s extremely important that the crease finish exactly in the corner.


Stitch to the crease line, then pivot and use the crease as a guide to stitch to the corner of the quilt edge.

Fold the strip straight up from the quilt along the stitched crease.

IMPORTANT STEP: Fold the strip 90˚ back on itself and line up the top and sides of the strip with the edges of the quilt. (If this does not line up perfectly, your mitered corner will be wonky.)
At the top of the quilt, backstitch a few stitches and then stitch down the next side. Continue around the quilt, mitering all four corners.
The Final Mitered Seam
Stop stitching the strip about 12" from where you began.
About six inches from the quilt, cut the end of right-hand strip with a 45˚ angle and fold under a 1/4" seam allowance.


Put a marking pin in the quilt edge where the bottom of the fold lands.

Lay the left-hand strip along the quilt edge and add a pin to the strip to match the position of the marking pin.

Draw a 45˚ line with a pencil on the wrong side of the left-hand strip.
Pulling both ends of the strip away from the quilt, put right sides together, match the two 45˚ lines, and stitch.


Trim the seam, heat set, press open and trim off the cat ears.

Line the seamed strip along the edge of the quilt and finish sewing on the binding.

Hand Stitching The Binding
Heat set all the seams around the quilt. Then, working from the front, press the binding away from the quilt top. Press a final time, this time wrapping the binding around the quilt edges.


With a medium-weight thread (50wt) that matches the binding color, use an invisible stitch to secure the binding.
Start by pulling the thread up through the binding strip, very close to the edge. Plunge the needle back into the quilt, exactly across from the exit point, and take a 3/8" stitch towards you, again coming up at the edge of the binding. Take a double stitch every six stitches.

Make sure your stitching goes through the batting but not through the top fabric of the quilt.
For the mitered corners, hand stitch the binding all the way to the end of the first side.
Fold in the next side, rolling the edge at the corner with your fingers until you get a nice 45˚ angle. Add two double stitches to the corner before continuing to hand stitch along the next side of the quilt.
Continue around the quilt, stitching all sides. Tada! The only task left is adding a label.

ABOUT US: Okan Arts, a petite family business, is co-owned by mother-daughter duo Patricia Belyea and Victoria Stone. Patricia and Victoria sell Japanese textiles online, host creative quilting experiences, and lead quilting & textile tours to Japan.
FOLLOW OKAN ARTS ON INSTAGRAM @okanarts


